Hexo Cactus 主题深度美化与定制指南
前言
部署好 Hexo 博客之后,我陷入了典型的选择困难症。
好看的主题实在太多了:NexT 功能丰富、Butterfly 炫酷灵动,网上教程也铺天盖地,按理说应该是省心之选。但用了一圈之后,我发现这些主题虽然强大,却略显复杂,配置项繁多,而且走在“撞脸”的边缘——打开十篇博客,九个长得一样。
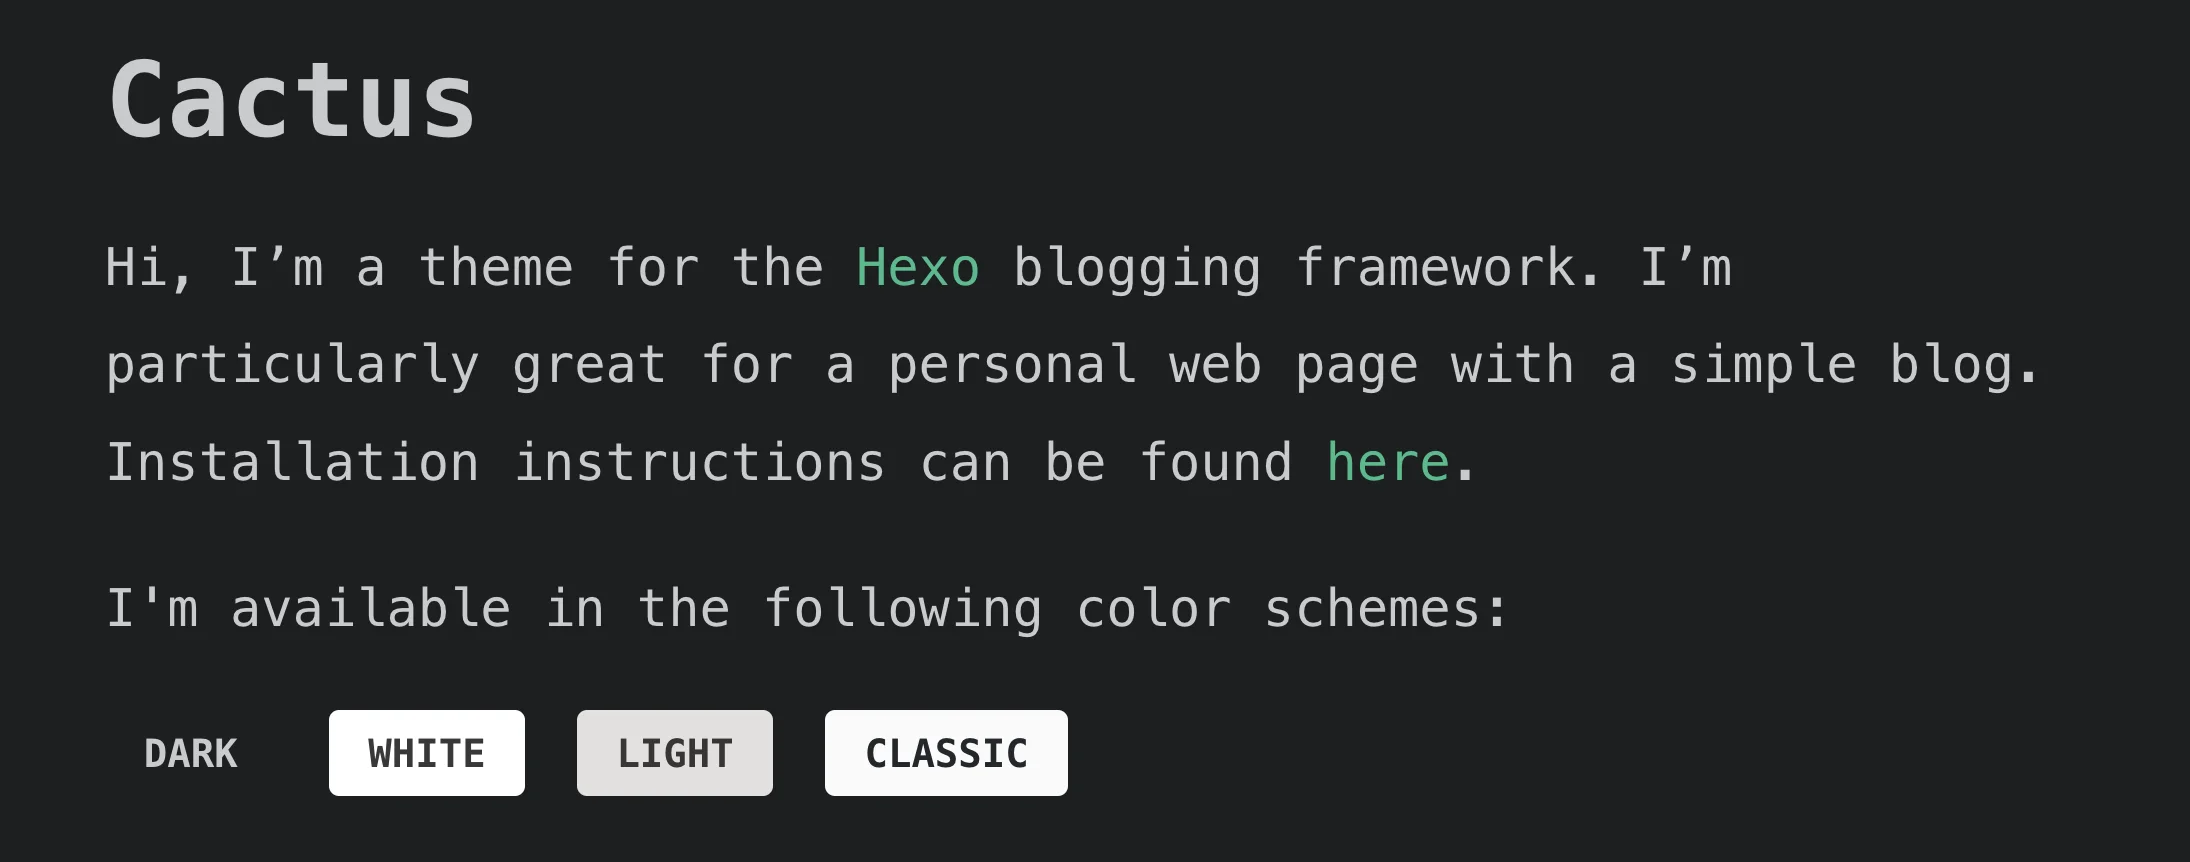
我不想要千篇一律的模板感,更希望拥有一个简洁、独特、真正属于自己的数字角落。几经尝试与权衡,我最终选择了 Cactus(仙人掌) 主题 (Cactus 主题 GitHub 仓库 |官方 Demo 预览 )—— 一个极简主义者的理想之选。Cactus 提供了四种清新的配色方案,整体风格干净利落,没有冗余的装饰,非常适合个人写作与轻量博客。
但它的简洁也意味着功能有限,中文教程稀少,许多个性化需求——如添加社交链接、集成 Utterances 评论、优化 SEO 等——都需要自行实现。因此,写下这篇教程,记录我如何一步步将 Cactus 从“极简”变为“既简且美”的专属博客。
Cactus 主题安装
进入hexo所在的文件夹,执行
1 | git clone -b main https://github.com/probberechts/hexo-theme-cactus.git themes/cactus |
然后在./_config.yml中修改theme
1 | # theme: landscape |
切换主题的风格
前面提到了cactus主题有四个风格,切换风格只需要进入./themes/cactus/_config.yml中找到colorscheme修改就完事,注意每次修改完都需要hexo clean hexo g 才会生效
1 | # Set the color scheme. |
导航栏相关
新建一个导航栏的项

- 在
./themes/cactus/_config.yml找到nav
1 | nav: |
直接在nav下面添加就行,添加完这一项之后可以让它指向一个链接(例如projcets),也可以让它指向站内的一个页面。新建一个页面执行hexo new page xxx,然后这个页面的路径就是/xxx/
- 更新后会在
./themes/cactus/source中发现一个和page名称一样的文件夹
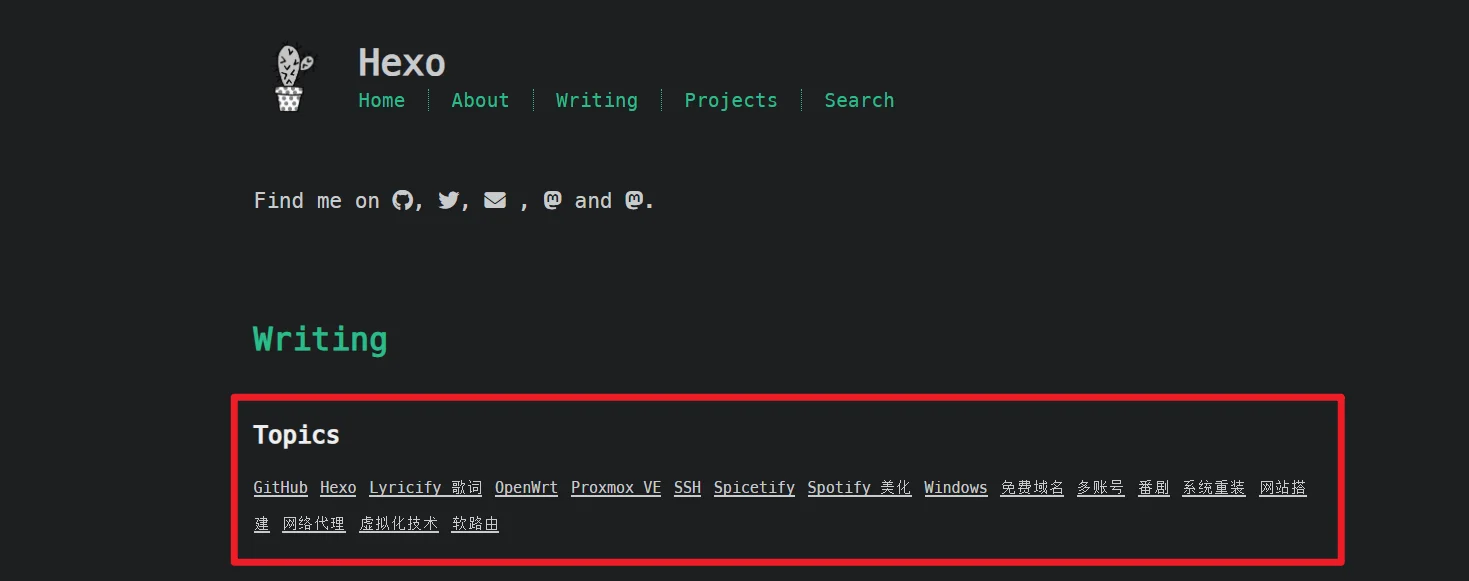
让导航栏中的某一项显示内容在首页
以project为例,只需在./themes/cactus/source中创建/_data/projects.json,然后修改json文件为
1 | [ |
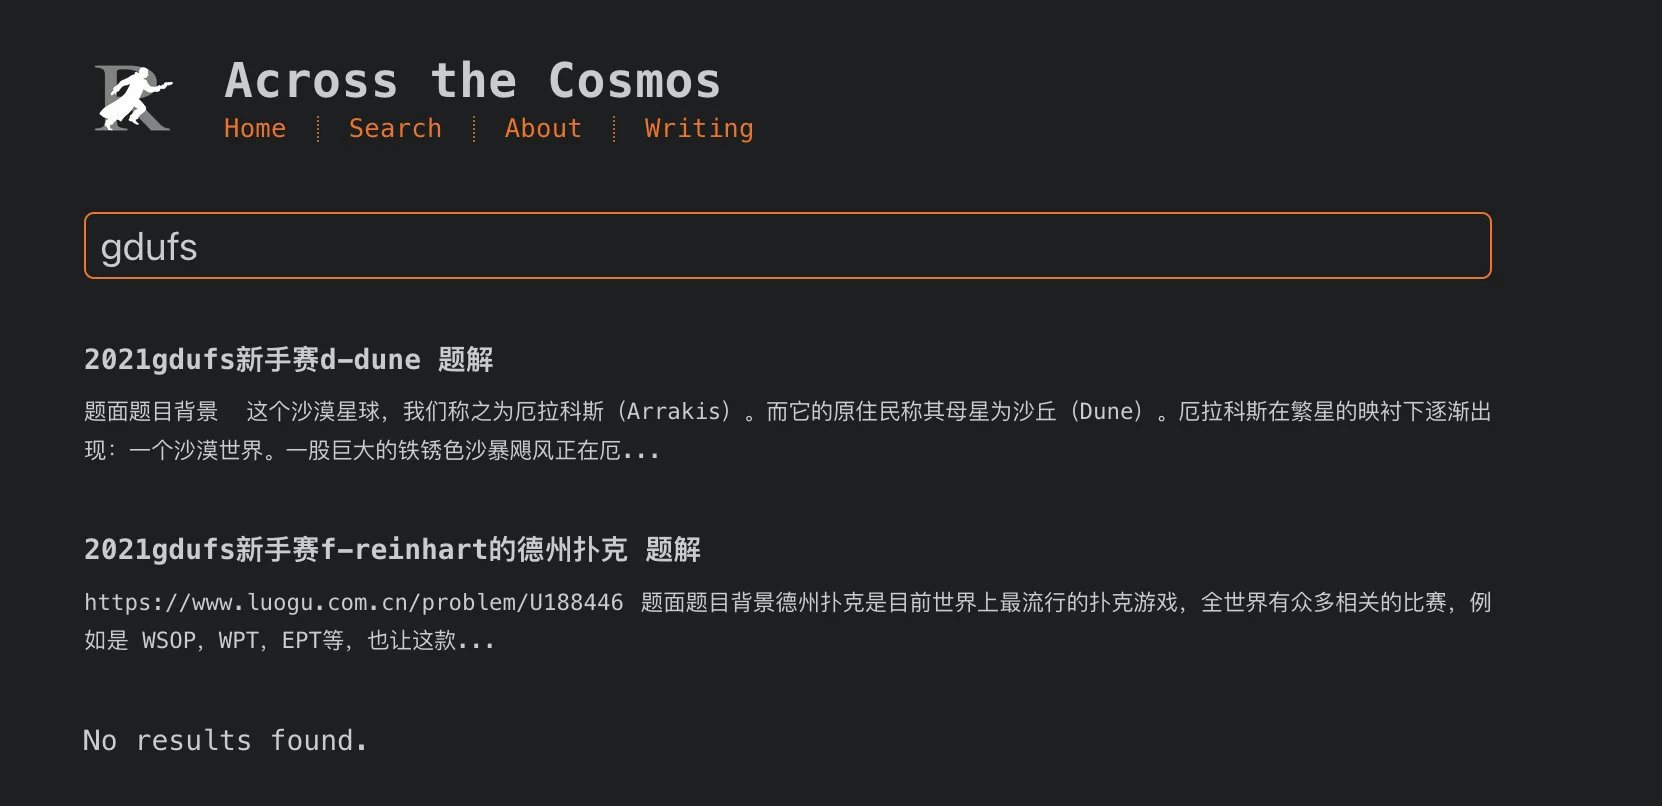
在导航栏添加搜索功能
首先执行下面命令安装 hexo-generator-search 插件;
1
npm install hexo-generator-search --save
- 执行
hexo new page search,进入./themes/cactus/source/serch/index.md,修改md文件的头为
1 | --- |
- 在
./themes/cactus/_config.yml中找到nav新建search标签
1 | nav: |
更新之后进入网站,点击search就可以搜索了
新增标签功能
只需要在每篇文章的头部添加,每篇文章可以有两个tag,tag的顺序影响其重要程度。
1
2
3
4
5title: Tags and Categories
date: 2017-12-24 23:29:53
tags:
- Foo
- Bar
就可以在首页看到
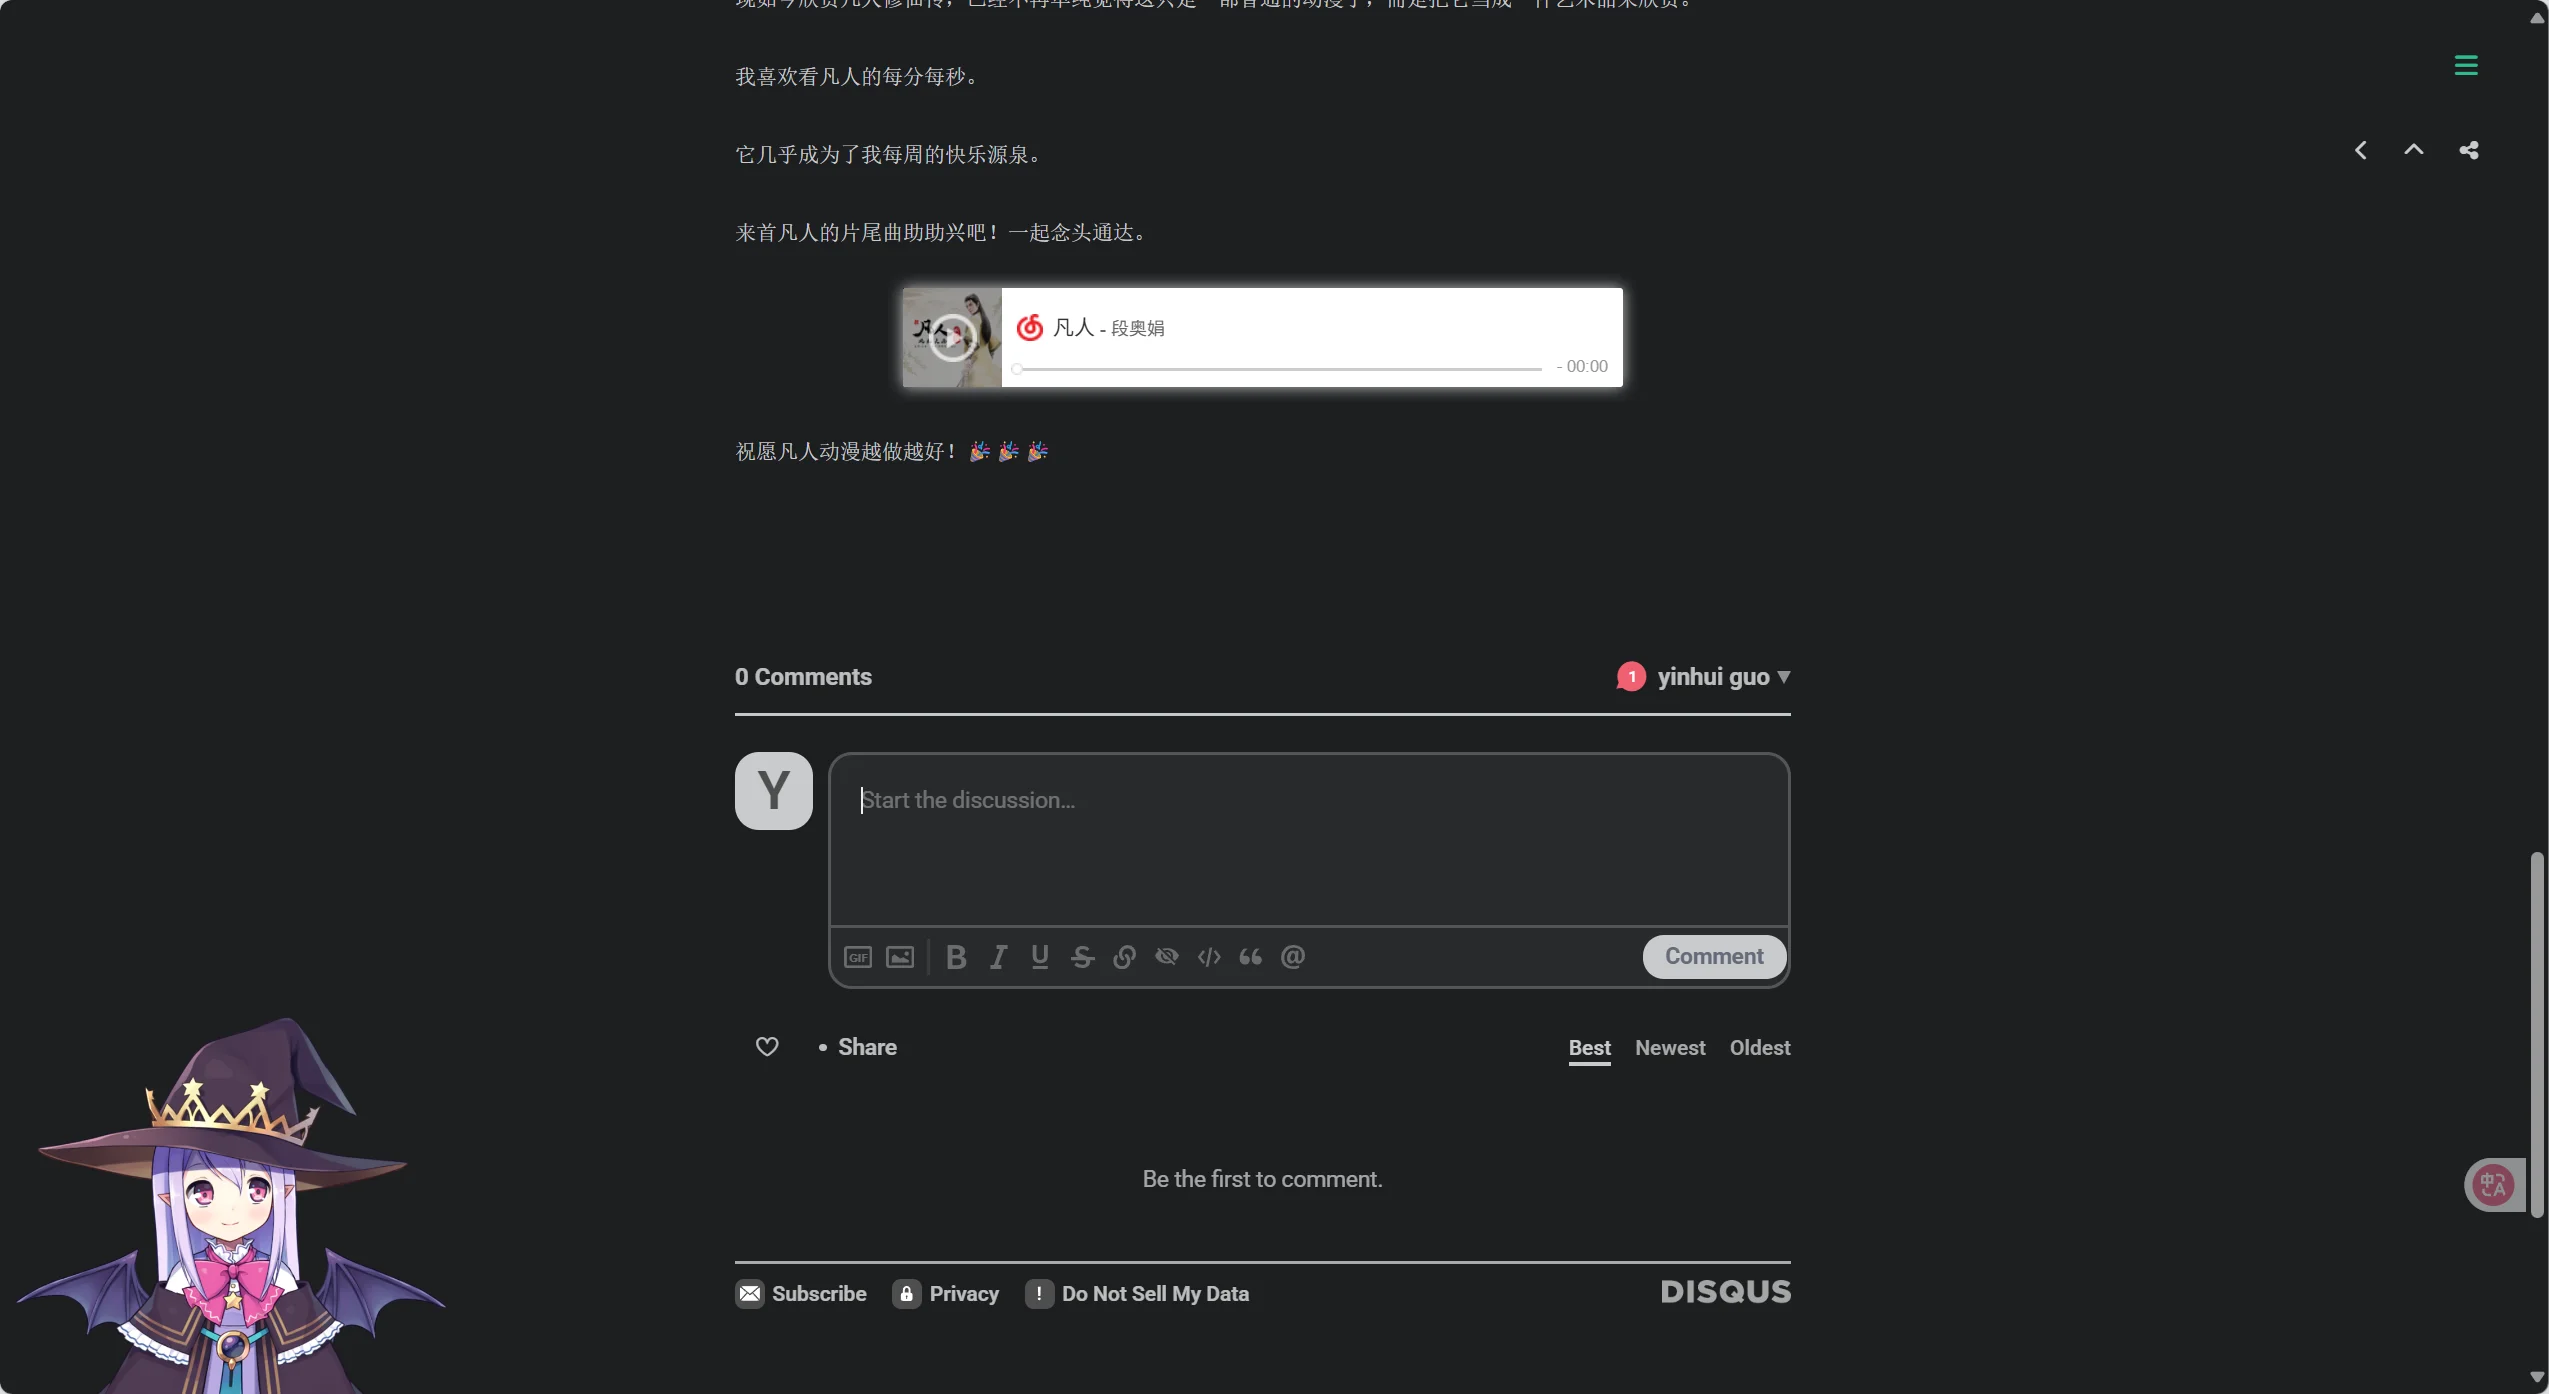
开启评论功能
Cactus 支持 Disqus 和 Utterances 两个平台的评论功能,只需要在./themes/cactus/_config.yml分别找到它们就行。
以 Utterances 为例,把enable设置为true,然后按照下面步骤执行:
登录 GitHub,创建一个新的公开 (Public) 仓库;
然后再去Utterances官网,点击 “Install the app” 按钮,安装 Utterances 应用到这个新仓库**。
注意:在权限页面,选择 “Only select repositories”。
1 | # Fill in your Utterances data to enable Utterances comments |
之后就能愉快的评论了,不过Disqus现在好像必须要梯子才能正常使用。
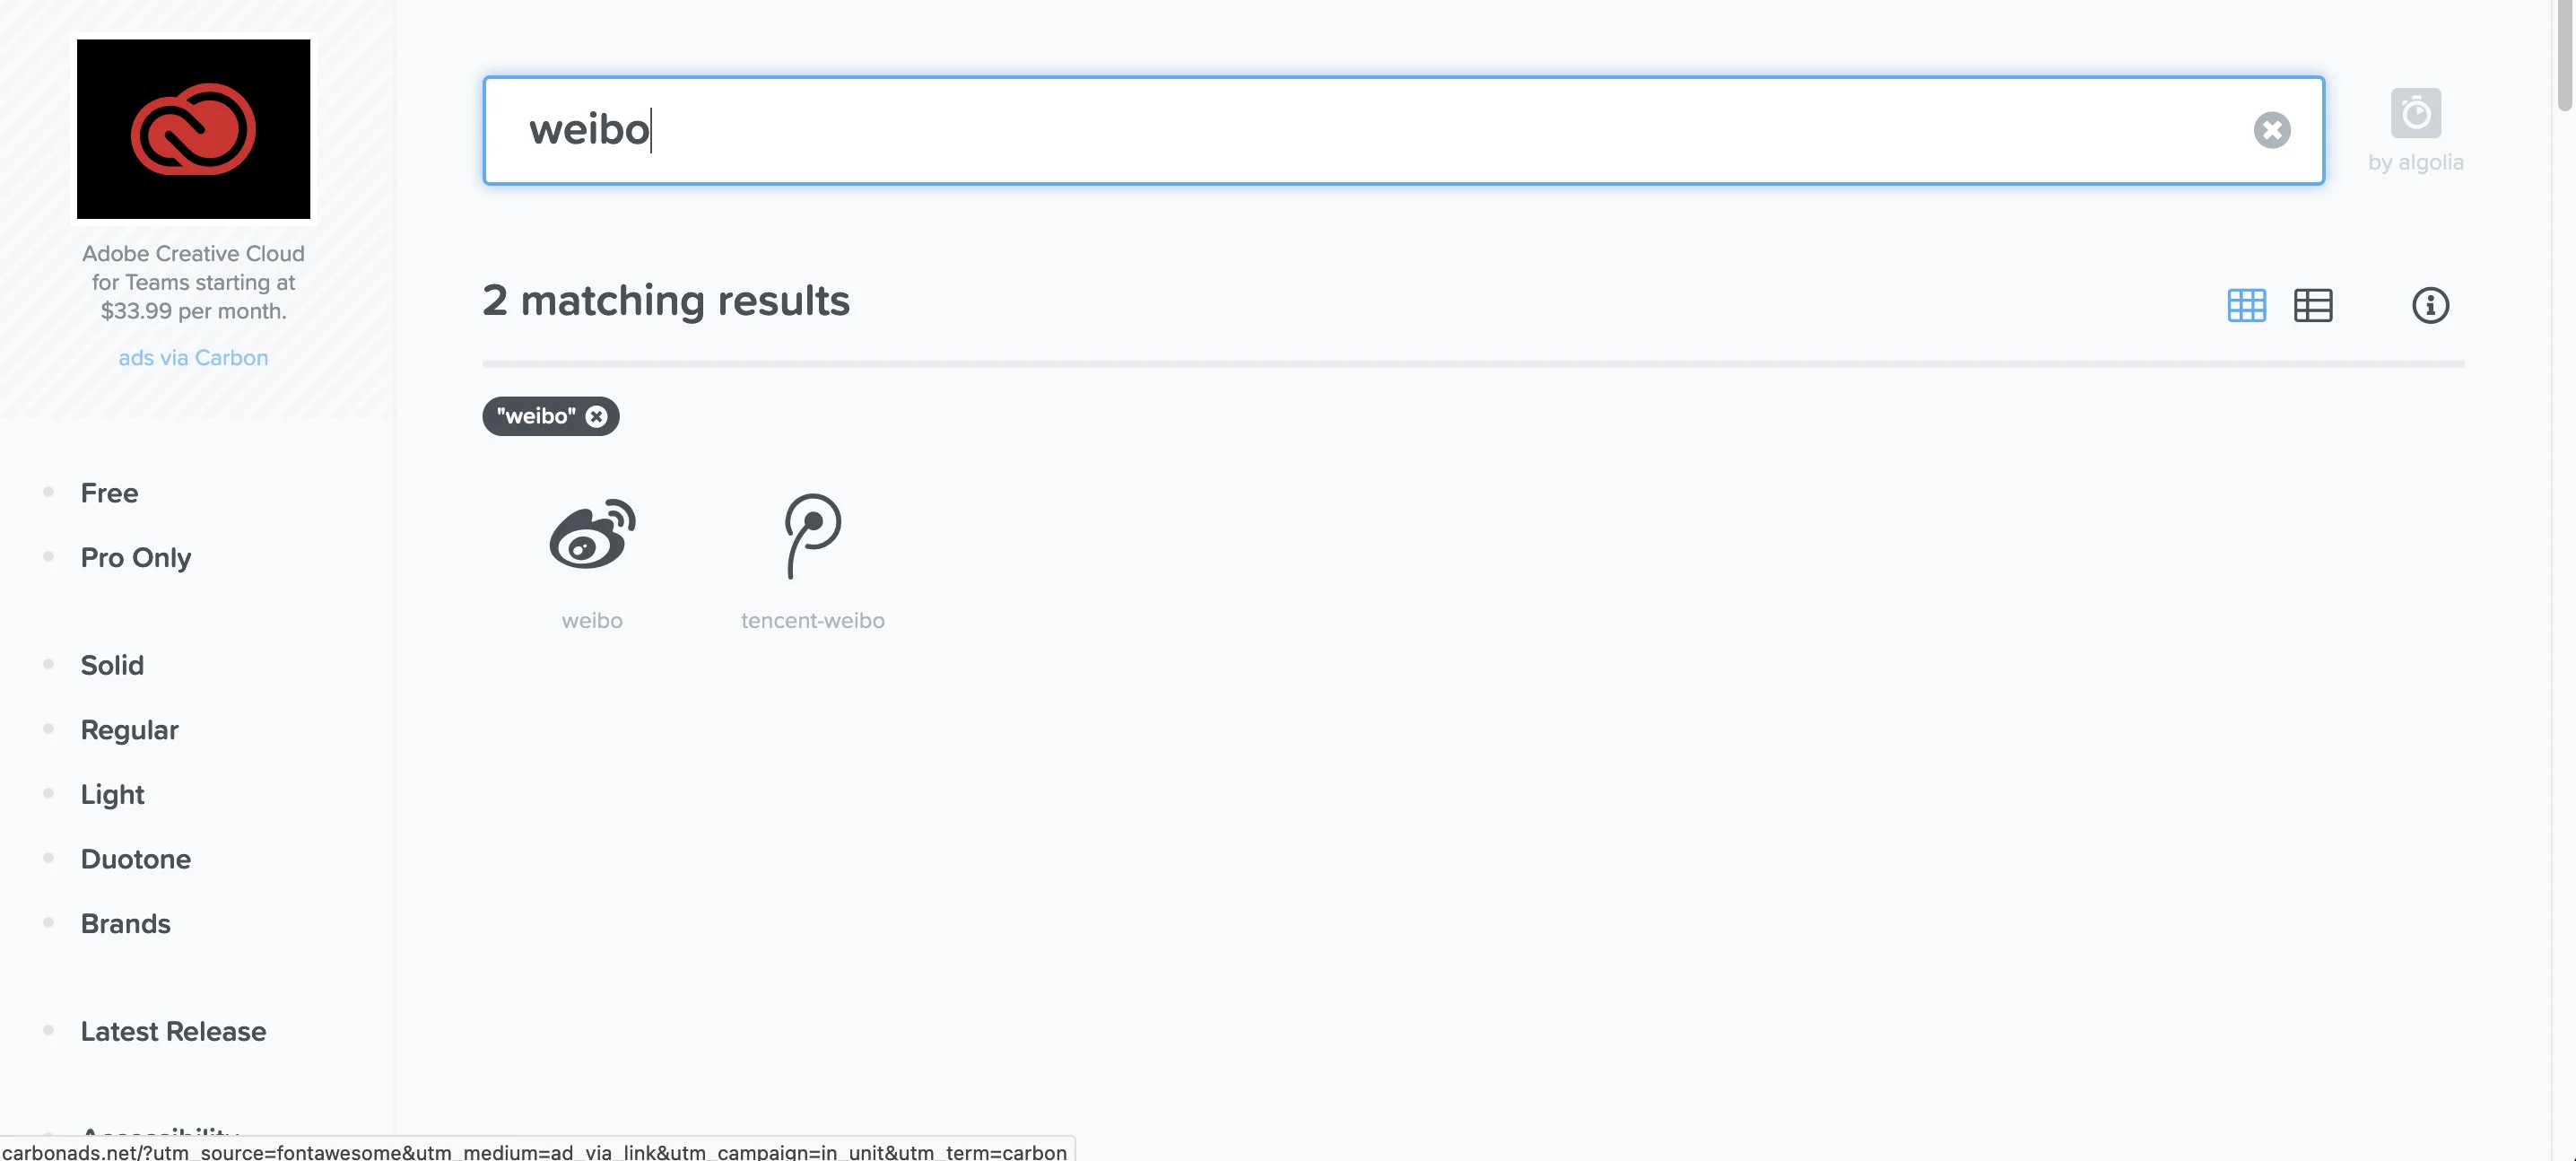
添加其他社交平台链接
在./themes/cactus/_config.yml搜索Social media links
1 | social_links: |
然后前面就是社交平台的名称,后面就是你该社交平台的url,注意这里只能选Font awesome上有的icon,才会显示对应的icon,进入网站搜索社交平台的英文名就能看到是否有这个icon了,这里列出几个比较常见的:weibo weixin zhihu rss。
增加数据分析
在./themes/cactus/_config.yml中,搜索analytics,cactus支持以下几种数据分析功能,说白了就是后台管理。
1 | google_analytics: |
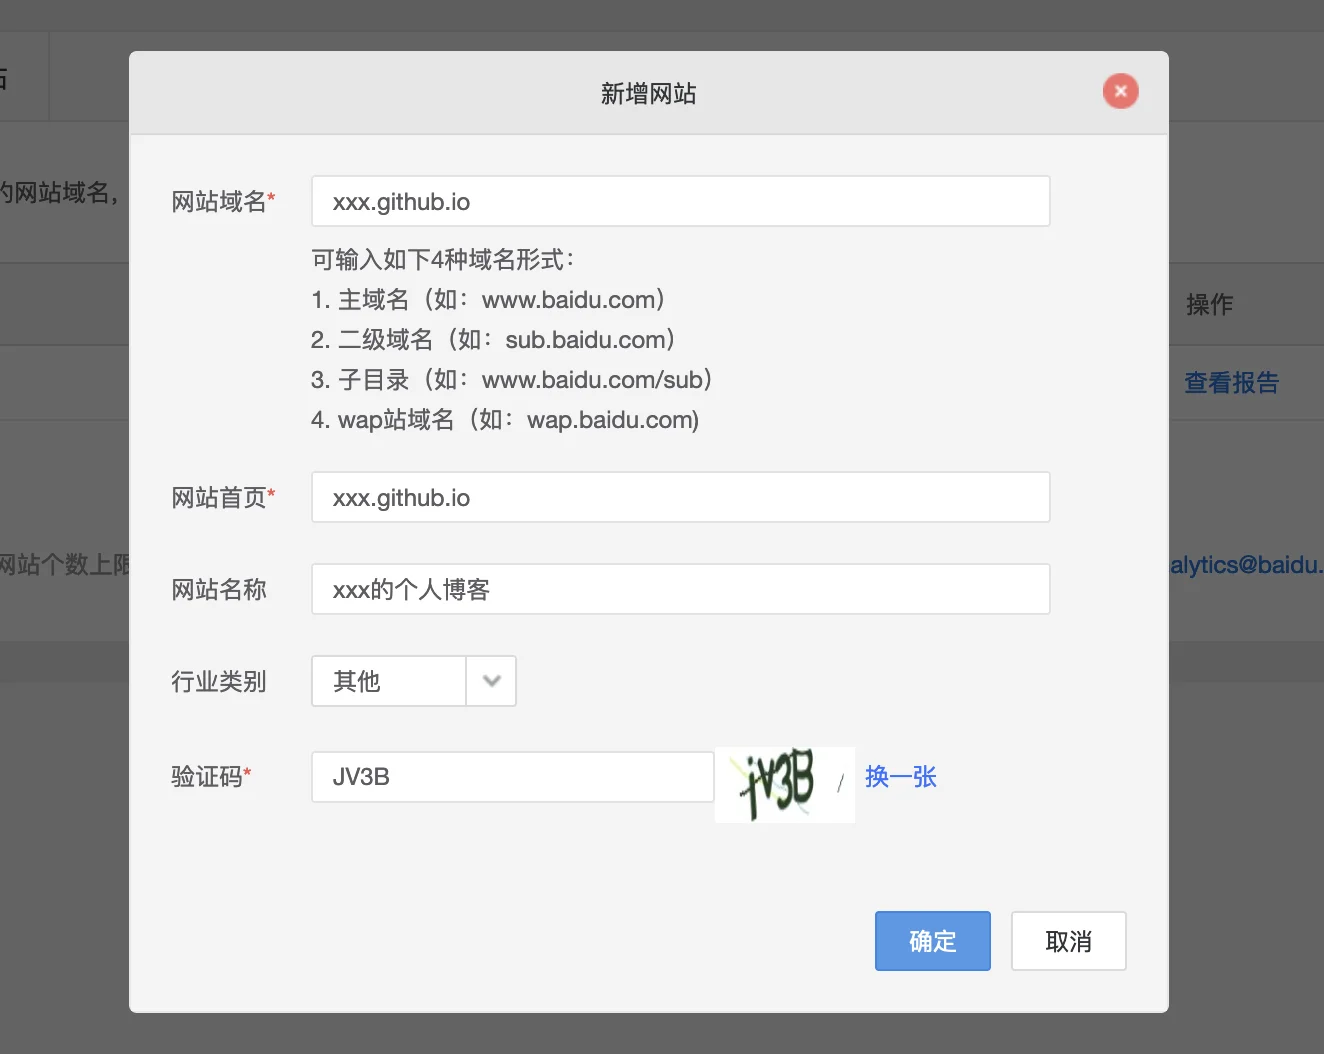
以百度分析为统计,先去百度统计官网注册一个账号,然后在网站列表点击新增网站,填写相关信息
然后在代码管理->代码获取页面复制这一段,这就是你的tracking_id,粘贴到主题配置文件。
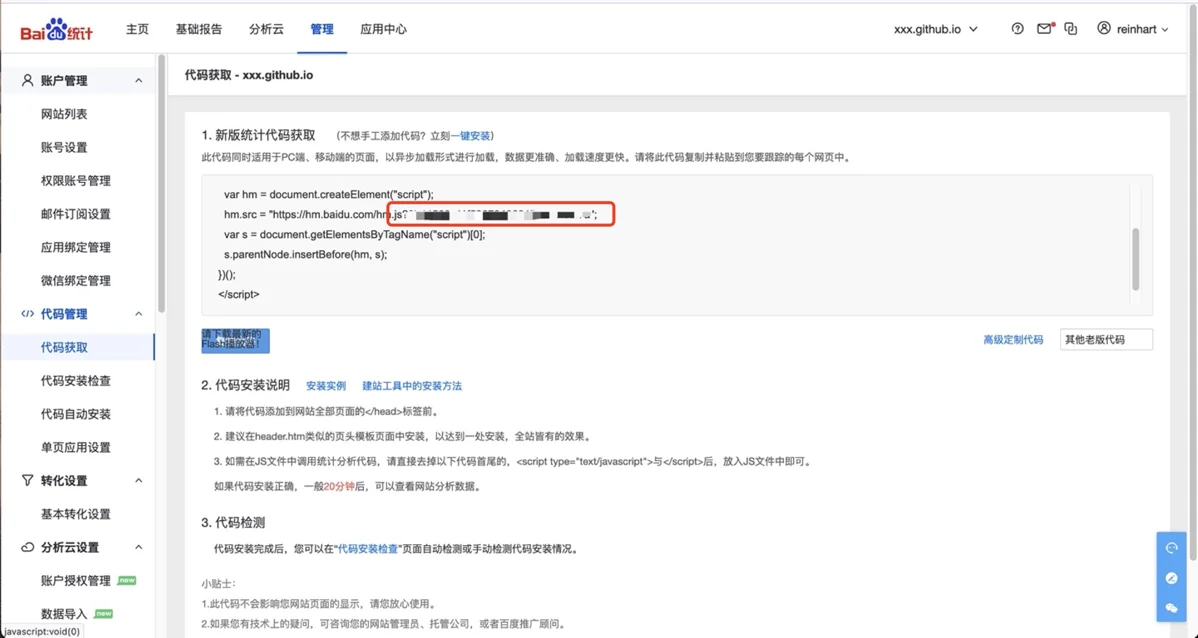
然后回到./themes/cactus/_config.yml,修改这里的id,enabled设置为true
1 | baidu_analytics: |
进入百度统计的代码管理->代码安装检查,点击开始检查,如果显示代码安装正确,过一会就能显示你网站统计的数据了。
自定义字体/颜色和网站logo/icon
自定义颜色
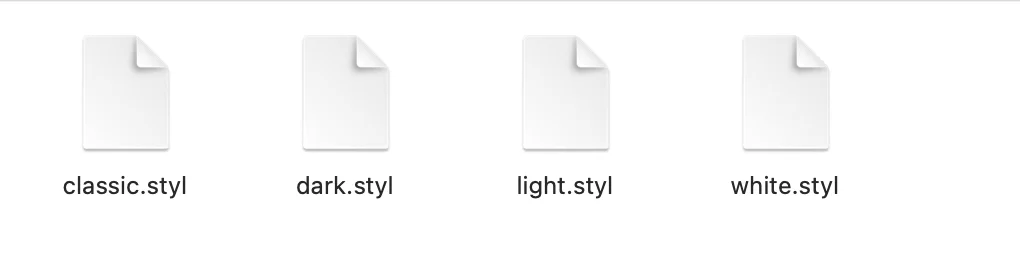
进入./themes/cactus/source/css/colors中有四个文件,对应不同风格的样式
1 | $color-background = #1d1f21 |
自定义字体
进入./themes/cactus/source/css/_variables.styl,就可以修改字体了
1 | // Fonts |
可用的字体在./themes/cactus/source/lib/中,cactus自带的只有meslo-LG vazir-font两种,有需要可以自己下载。
自定义网站 logo/icon
- 在
./themes/cactus/source/images/下有四张图片
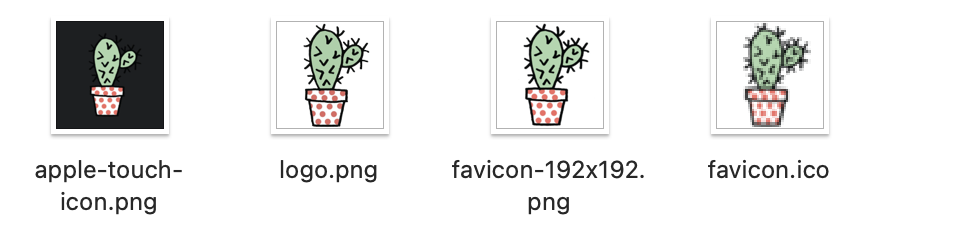
apple-touch-icon是苹果产品将网站的快捷方式添加到主屏幕所显示的logologo 就是显示在你网页上的那个东西,设计logo的网站,里面有很多半成品,拿来就能用。
添加点击量功能
进入./themes/cactus/_config.yml添加下面一段代码
1 | # 是否开启访问量统计功能(不蒜子) |
进入./themes/cactus/layout/_partial/footer.ejs将其全部修改覆盖为:
1 | ejs<footer id="footer"> |
有前端基础的可以加在footer的别的位置甚至加在header.ejs里,核心代码就是
1 | <% if (theme.busuanzi && theme.busuanzi.enable){ %> |
效果如下所示:

参考文章
 wechat
 alipay